Few things strike fear in the hearts of Windows users than when their system alerts them that Windows cannot recognize their drive or partition. Relax, there’s no need to panic. This normally means that your drive or partition is RAW, and with data recovery software, this is easily fixed with zero data loss.
Want to skip the introduction and jump straight to the recovery section? Click here.
Drive Recovery Explained
If your disk or partition is RAW, this means that the file system of your drive or partition is either:
- ⛔ The drive’s file system is missing or damaged
- ⚠️ The RAW drive or partition has yet to be formatted with a file system
- 🖥️ The file system of the drive or partition is not recognized by Windows
There are four main types of Windows file systems: FAT32, NTFS, exFAT, and ReFS (Resilient File System).
If your drive or partition becomes corrupted or shows as RAW in DiskMgmt, fret not, as your data is still there. We’ve just got to recover it.
Is It Possible to Recover a RAW Partition Without Losing Data?
The quickest and best way to recover your data is with data recovery software. Of the plethora of data recovery tools available, Disk Drill is one of the best. And yes, it can recover data from devices and partitions appearing as RAW.
What makes Disk Drill so effective at data recovery, is it looks for signatures as well as other traces of recoverable data, as well as recognizes over 400 different file types. It’s intuitive user interface also makes it easy to use for even the most technically-challenged user. Disk Drill, for both the Mac and Windows, comes in two flavors, Disk Drill and Disk Drill Pro.
Interested in Disk Drill? Read more information about the tool in our comprehensive review. But now let’s move on to a step-by-step guide.
Step 1. Download and Install Disk Drill
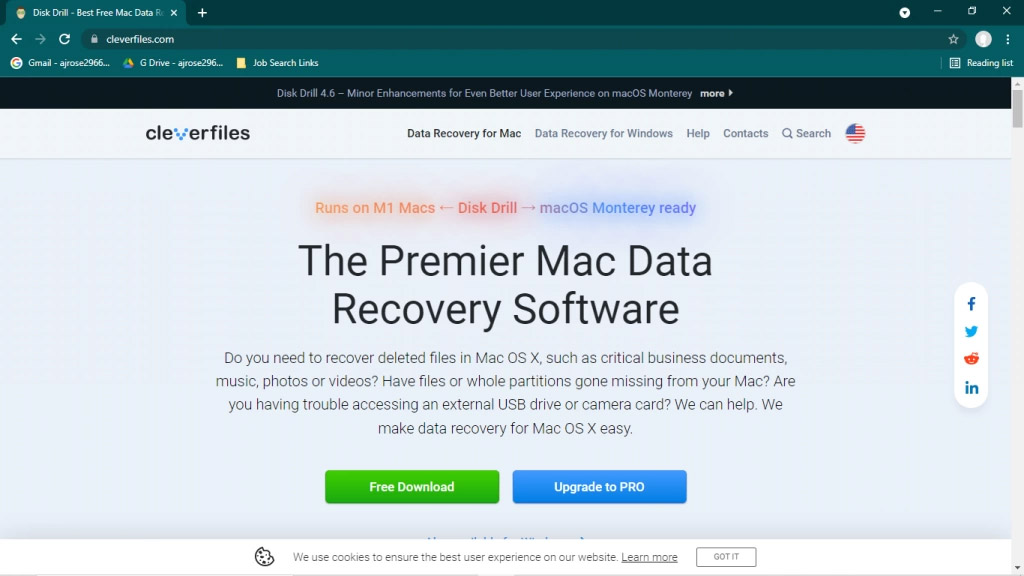
- Open your web browser and navigate to www.cleverfiles.com.
- Click the “Free Download” button. Your Windows OS should be automatically recognized, and the latest Windows version of Disk Drill should start downloading.
- After “diskdrill.exe” has finished downloading, double-click the file in the “Downloads” folder to launch the installation. Please be patient while “diskdrill.exe” downloads.
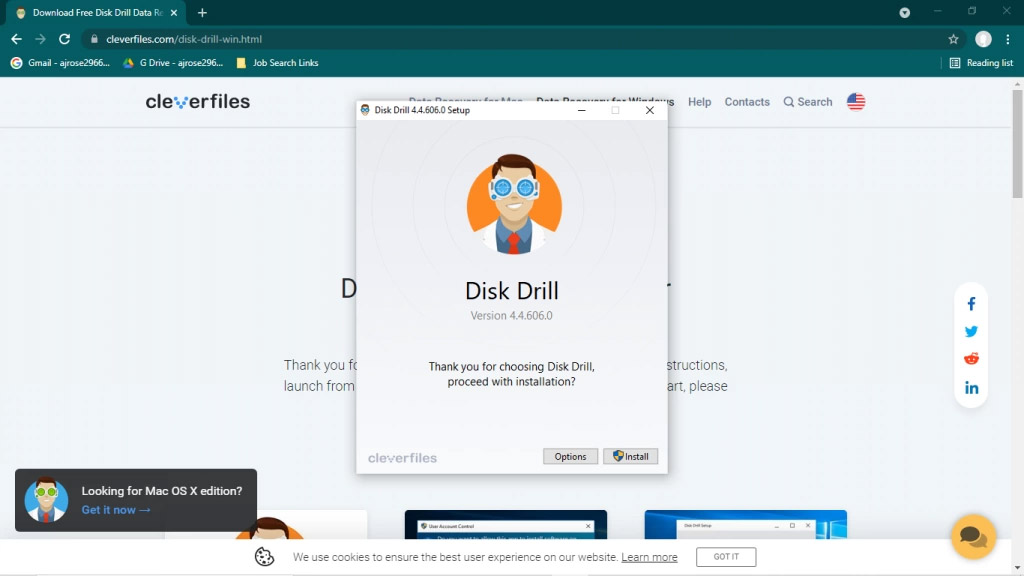
- When presented with the Disk Drill Setup window, click “Install”.
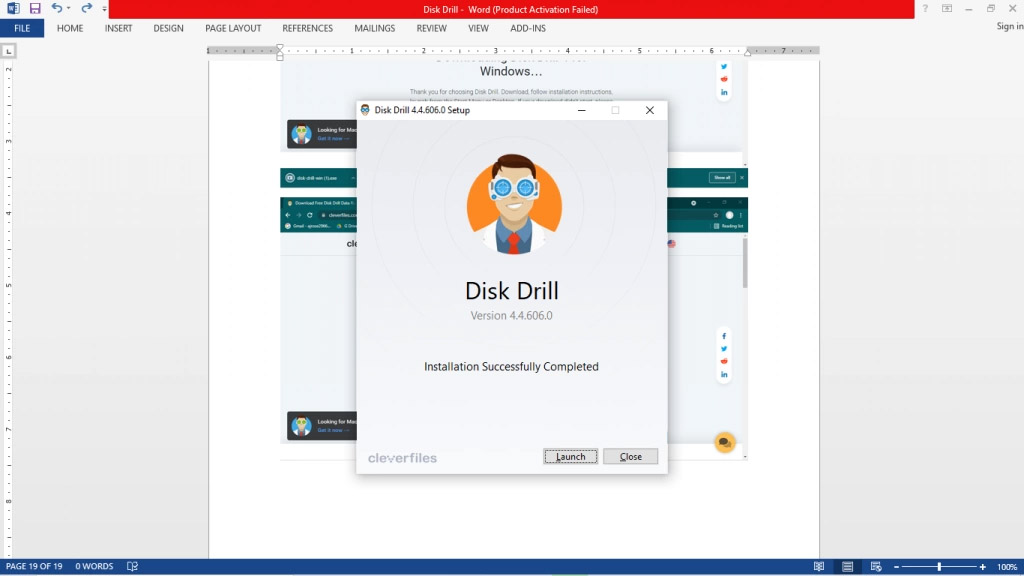
- After the Disk Drill setup completes, you have the option to Launch Disk Drill or Close the Disk Drill setup.
Step 2. Recover Files from a RAW Disk or Partition
- To recover files from your RAW disk or partition, launch Disk Drill from the Windows Start Menu.
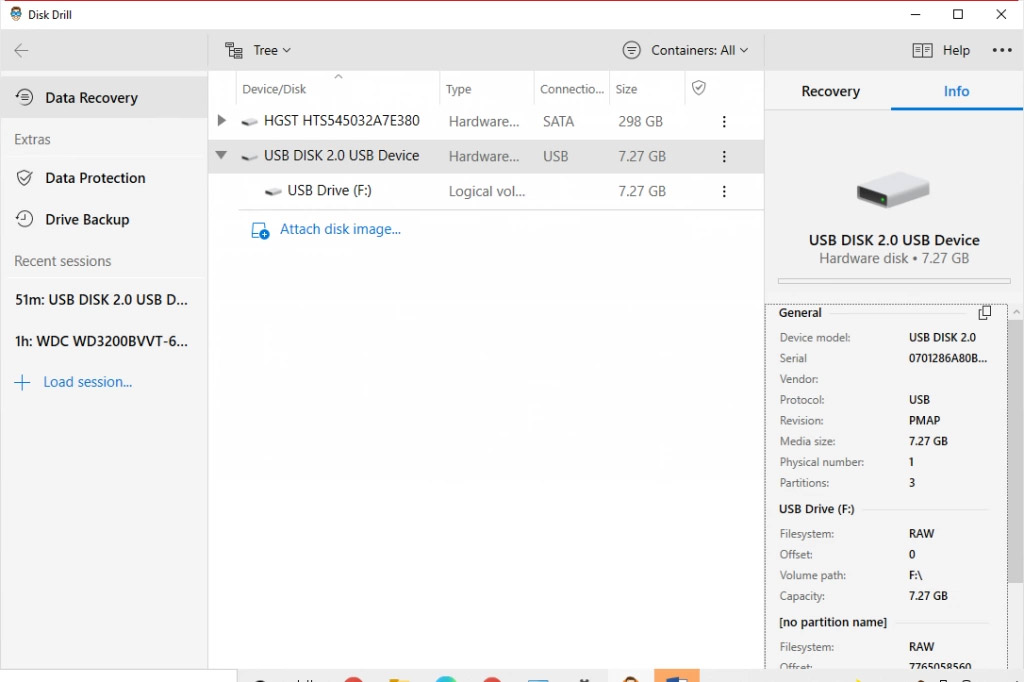
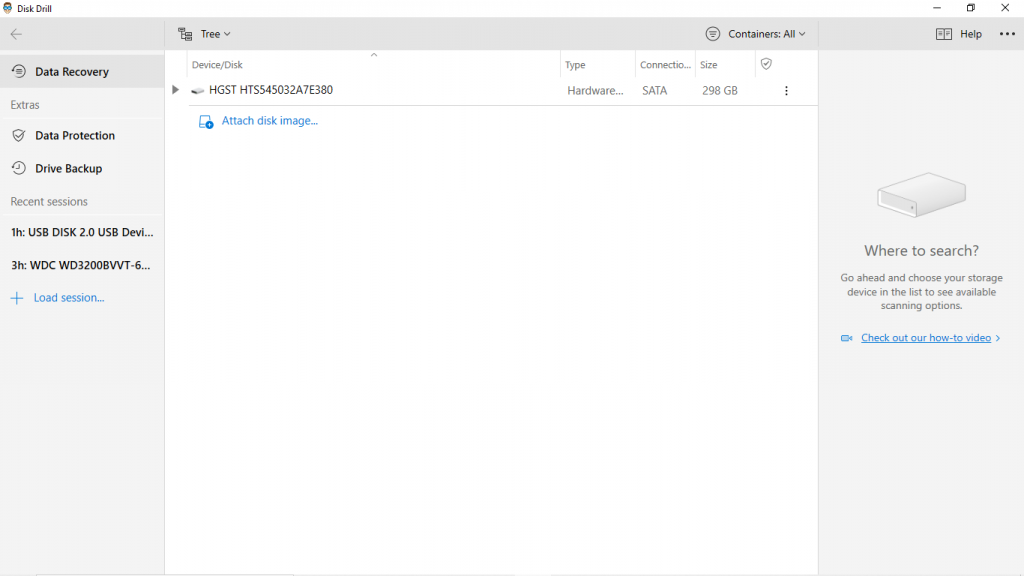
- Select the RAW disk or partition. Click the “Recovery” tab.
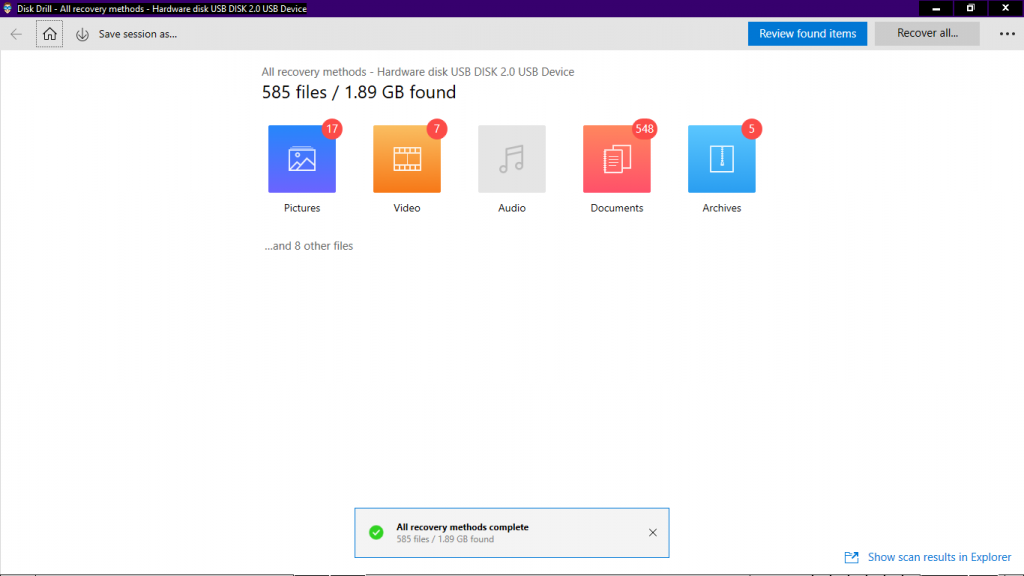
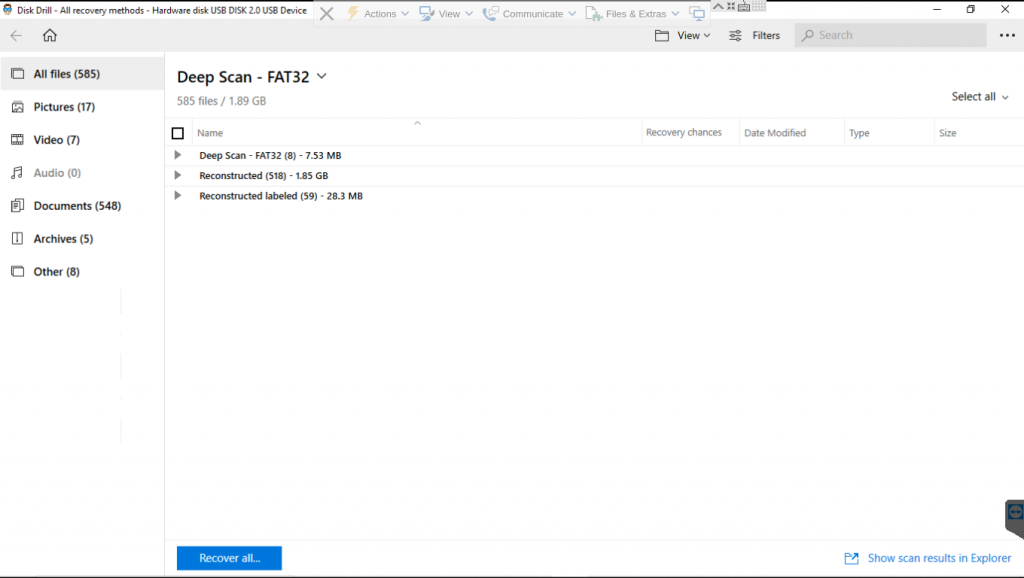
- Choose either the “Recover all…” button or “Preview Found Items”.
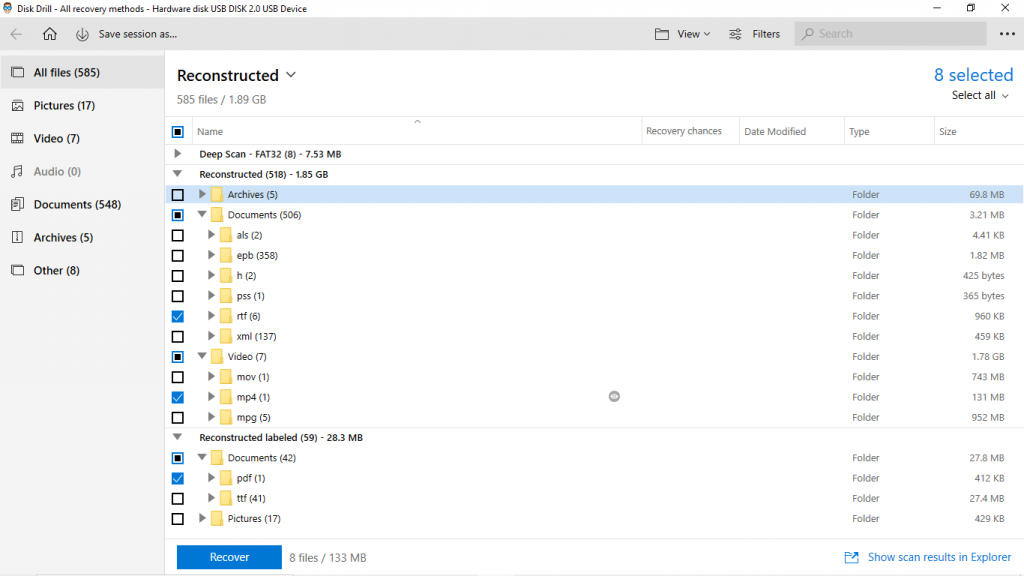
- Remember if you’re using the free version of Disk Drill, you’re limited to 500 MBs. If you choose “Preview Found Items”, you’ll see an Explorer-like listing that allows you to select individual files or folders to recover. Once you’ve selected the files and folders you wish to recover. Click the “Recover” button.
- When presented with the “Recover lost data” window, enter your desired recovery directory in the “Recover to” box. Click “OK”.

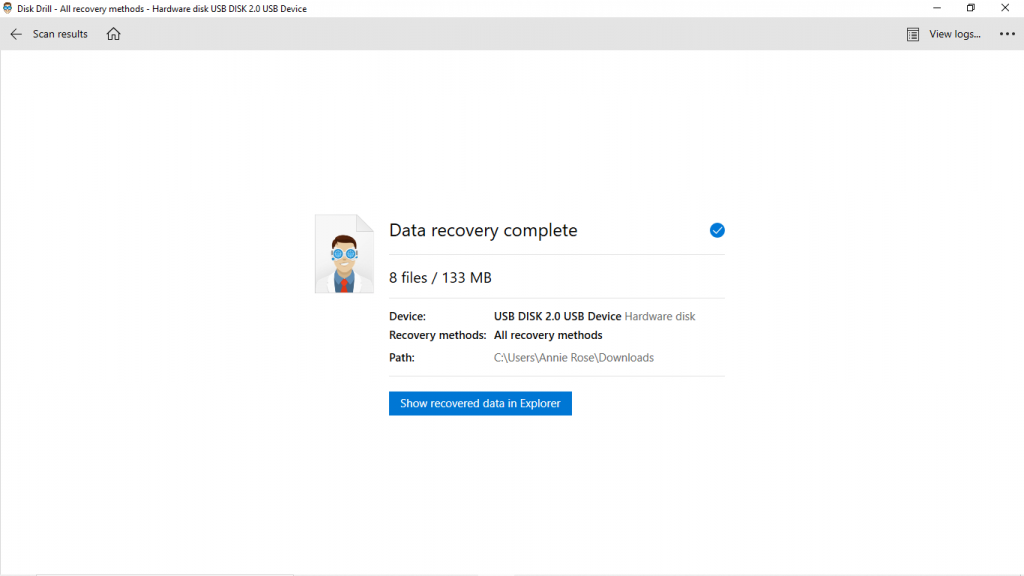
- Please be patient while Disk Drill recovers your desired files. When data recovery is completed, click the “Show recovered data in Explorer” button to view the recovered files.
Note: Don’t recover data to the same location to avoid overwriting data.
Step 3. Recover RAW Drive or Partition
The main problem with RAW drives is they simply don’t have a file system. To quickly make RAW drives usable is by formatting them. However, prior to formatting the RAW drive to the file system of your choice, you first need to create a byte-to-byte copy of the RAW drive for recovery later.
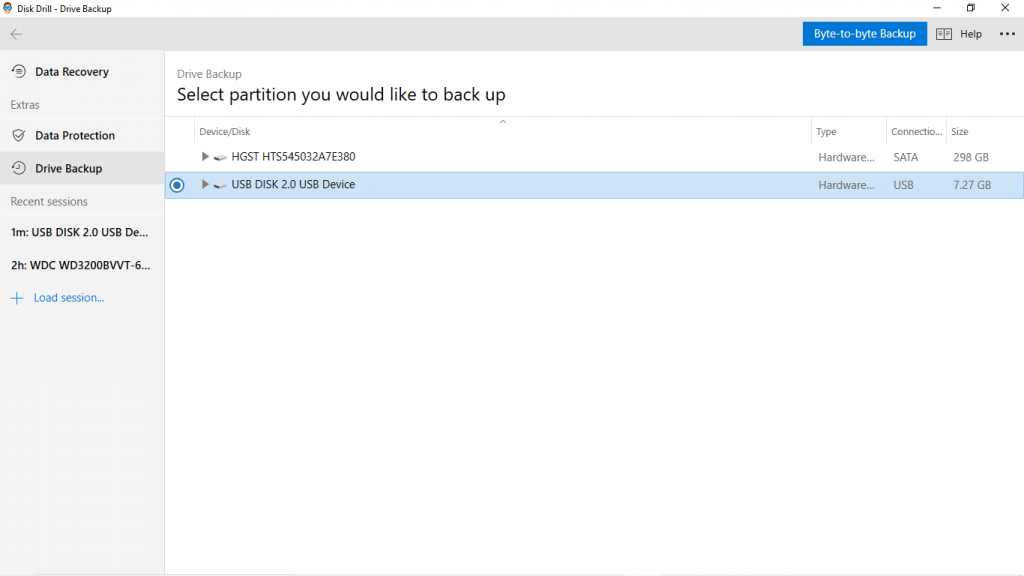
- Launch Disk Drill and select “Data Backup” from the menu on the right. Highlight the RAW partition or drive you want to recover. Select the “Byte-to-Byte Backup” button in the upper right-hand corner of the window.
- Enter the name of the .dmg file you want to save the byte-to-byte backup to in the “Save as file” test box. Select Disk Image file (*.dmg) as type. Enter your desired path in the “Path” text box. Leave the Format drop-down as “Bytes” and accept the default values for “From…to”. Click “OK”.
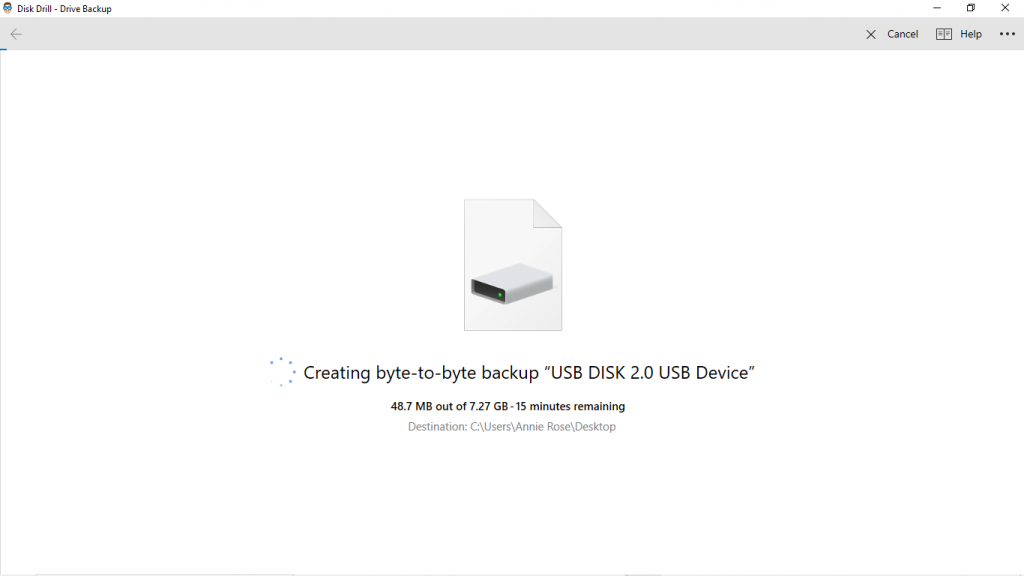
- Please be patient as the byte-to-byte backup is being created.
- At the “Disk image created!” screen, click Done.
- Next, we need to format the RAW disk/partition. Start diskmgmt.msc from Windows Search, or, alternatively, the DOS prompt.
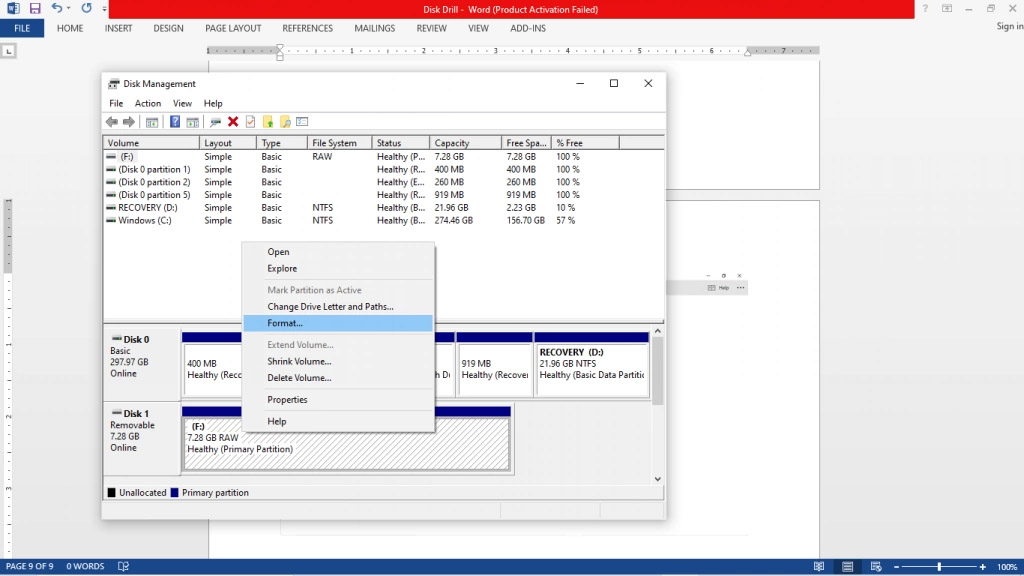
- Locate the RAW disk/partition you want to format, left-click it, and select “Format from the drop-down menu”.
- At the “Format” window, enter your desired volume label in the appropriate text box, and select your desired file system from the drop-down menu. Leave “Allocation unit size” as default. Make sure the “Perform a quick format” is checked and Enable file and folder compression is not. Click “OK”.
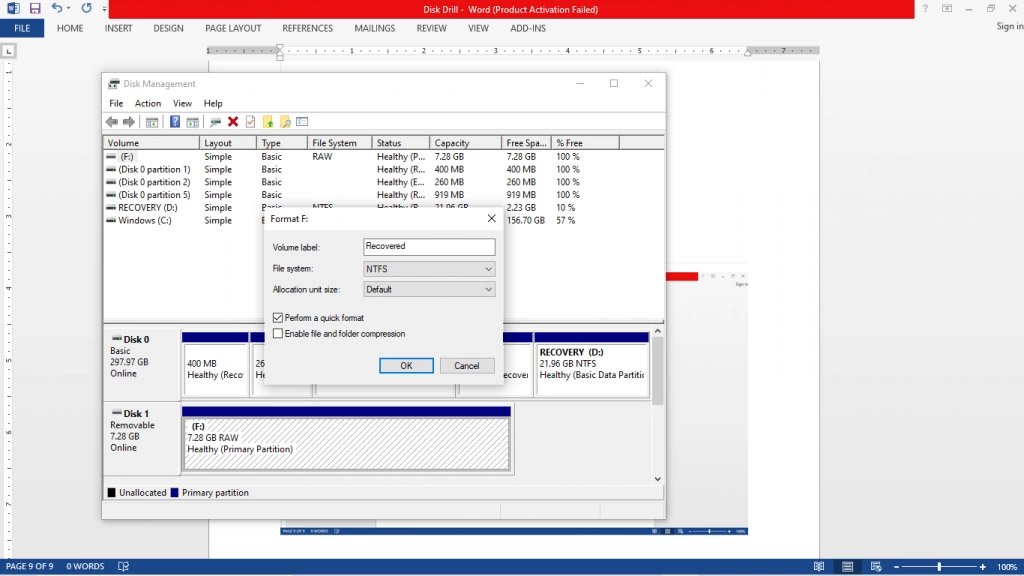
- Click “OK” at the “Formatting this volume will erase data on it. Back up any data you want to keep before formatting. Do you want to continue?” warning window.

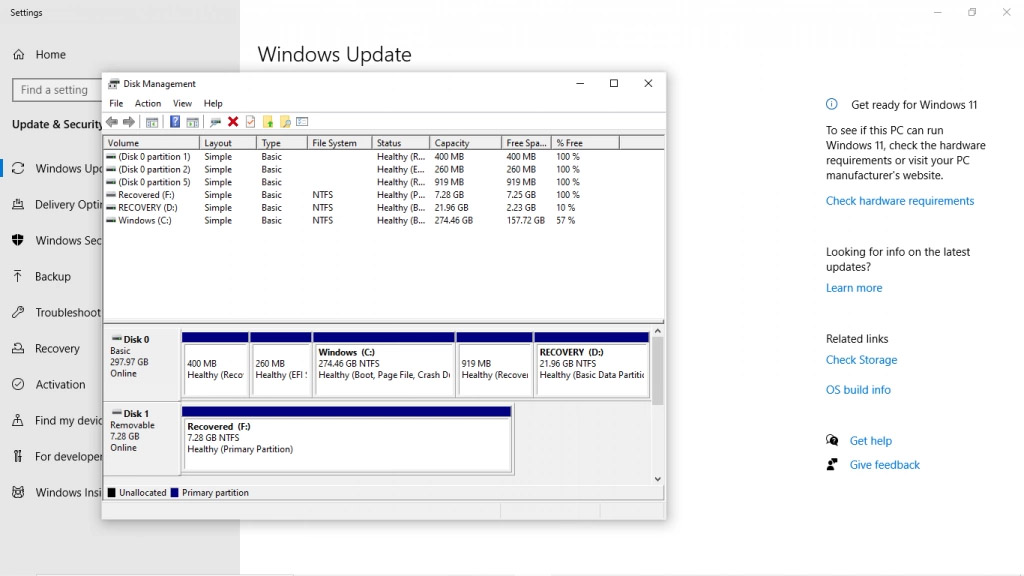
- Your disk or partition is no longer in RAW format, and you can restore your data from the .dmg file you created earlier.
Frequently Asked Questions
Here’s a super-quick guide on recovering data from a RAW drive:
- Download and install Disk Drill.
- Connect the RAW drive to your PC/Laptop.
- Launch the app and scan your RAW disk.
- Select the files you want to restore and click the Recover button.
- Choose the destination path and click OK.
As shown earlier in this article, recovering data from a RAW partition is a snap with Disk Drill.
- Launch Disk Drill and select Data Backup from the menu on the right. Highlight the RAW partition or drive you want to recover. Select the Byte-to-Byte Backup button in the upper right-hand corner of the window.
- Enter the name of the .dmg file you want to save the byte-to-byte backup to in the chkdsk command as file test box. Select Disk Image file (*.dmg) as type. Enter your desired path in the Path text box. Leave the Format drop-down as Bytes and accept the default values for From…to. Click OK.
- Please be patient as the byte-to-byte backup is being created. At the “Disk image created!” screen, click Done.
Next, we need to format the RAW disk/partition. Start diskmgmt.msc from Windows Search, or, alternatively, the DOS prompt.
- Locate the RAW disk/partition you want to format, left-click it, and select Format from the drop-down menu.
- At the Format window, enter your desired Volume label in the appropriate text box, select your desired File system from the drop-down menu. Leave Allocation unit size as default. Make sure the Perform a quick format is checked and Enable file and folder compression is not. Click OK.
- Click OK at the “Formatting this volume will erase data on it. Back up any data you want to keep before formatting. Do you want to continue?” warning window.
Your disk or partition is no longer in RAW format, and you can restore your data from the .dmg file you created earlier.
To restore a RAW partition to the NTFS file system, use the diskmgmt.msc tool described in the Recover Files from a RAW Disk or Partition – Windows section of this article. Don’t forget to create the byte-to-byte backup.
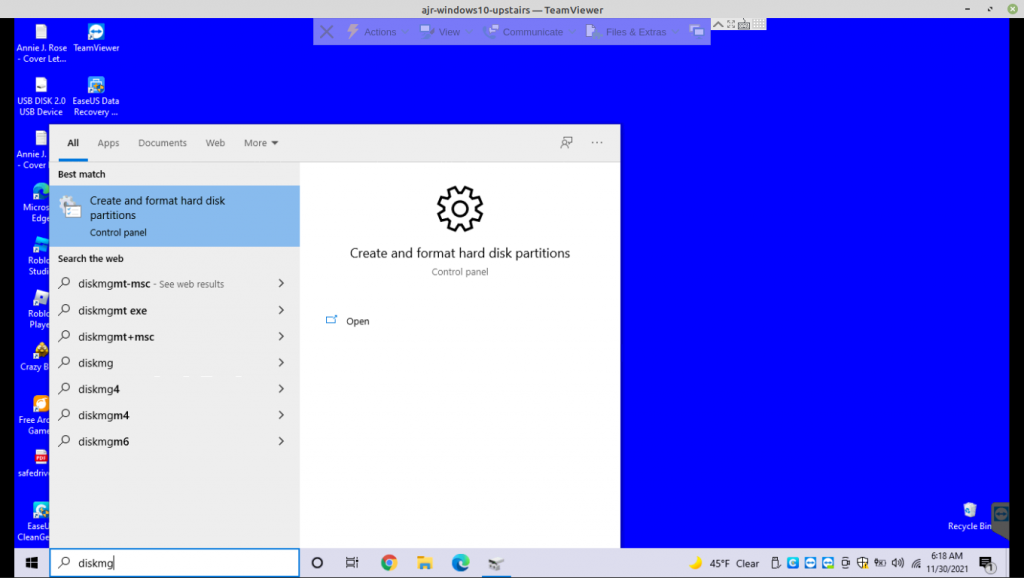
- Press <Windows Key>+R to open the start menu. Enter “Create in the Search box. Click the Create and format hard disk partitions shown at the top of the search results.
- Start Disk Drill.
- Choose Data Backup, and do a Byte-to-Byte backup of the RAW drive.
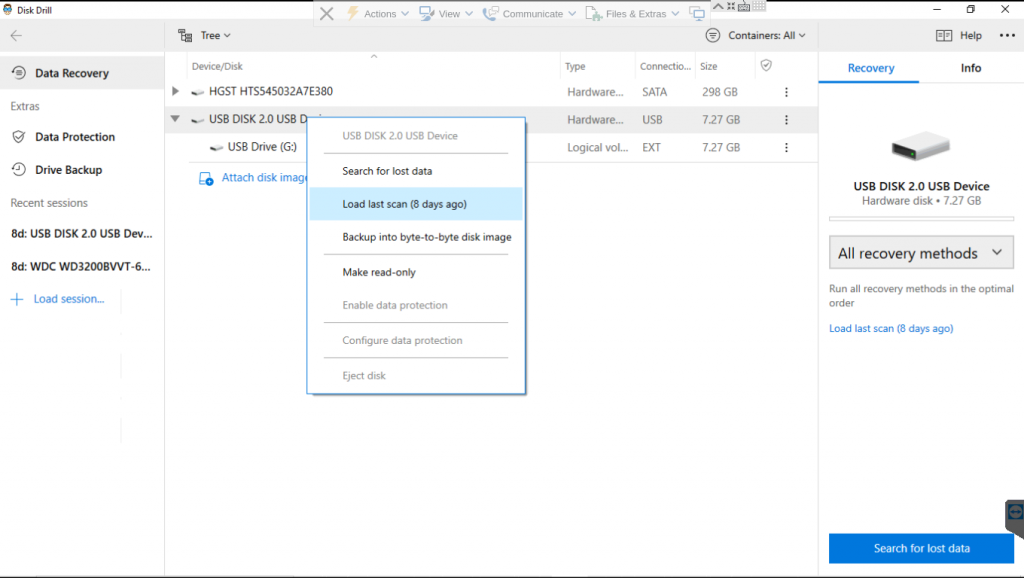
- When the backup completes, return to the Disk Management window. Right-click the RAW partition and click Format.
- After the drive is formatted, we can recover our data. Select the drive just recently formatted, right-click, and double-click Load last scan.
- Check the top-left checkbox in the Disk Drill – All recovery methods … window and select Recover All.
- Be patient as Disk Drill recovers your data.
Unfortunately, the chkdsk command cannot fix a RAW partition. This is because chkdsk cannot read RAW partitions or disks. Attempting to run chkdsk on a RAW partition/disk will result in the “The type of the file system is RAW. CHKDSK is not available for RAW drives.” error.

To test this for yourself, open a Cmd window and enter:
chkdsk /f <Drive letter>
at the prompt. You will receive the “The type of the file system is RAW. CHKDSK is not available for RAW drives.” message.
Conclusion
As outlined in this article, RAW partition recovery, as well as RAW partition data recovery, is intuitive and relatively straightforward using Disk Drill Moreover, the web is chockfull of articles outlining how to use Disk Drill recovery with your RAW drive/partition and RAW data on a RAW drive/partition.
This article was written by Travis Rose, a Author at Handy Recovery Advisor. It was also verified for technical accuracy by Andrey Vasilyev, our editorial advisor.
Curious about our content creation process? Take a look at our Editor Guidelines.